


All articles
Get inspiration and tips to take your video skills to the next level.


Introducing your executives through a corporate video
Introduce your managers via a corporate video, it's a way to reach a maximum of people, even from a distance. We tell you more here.
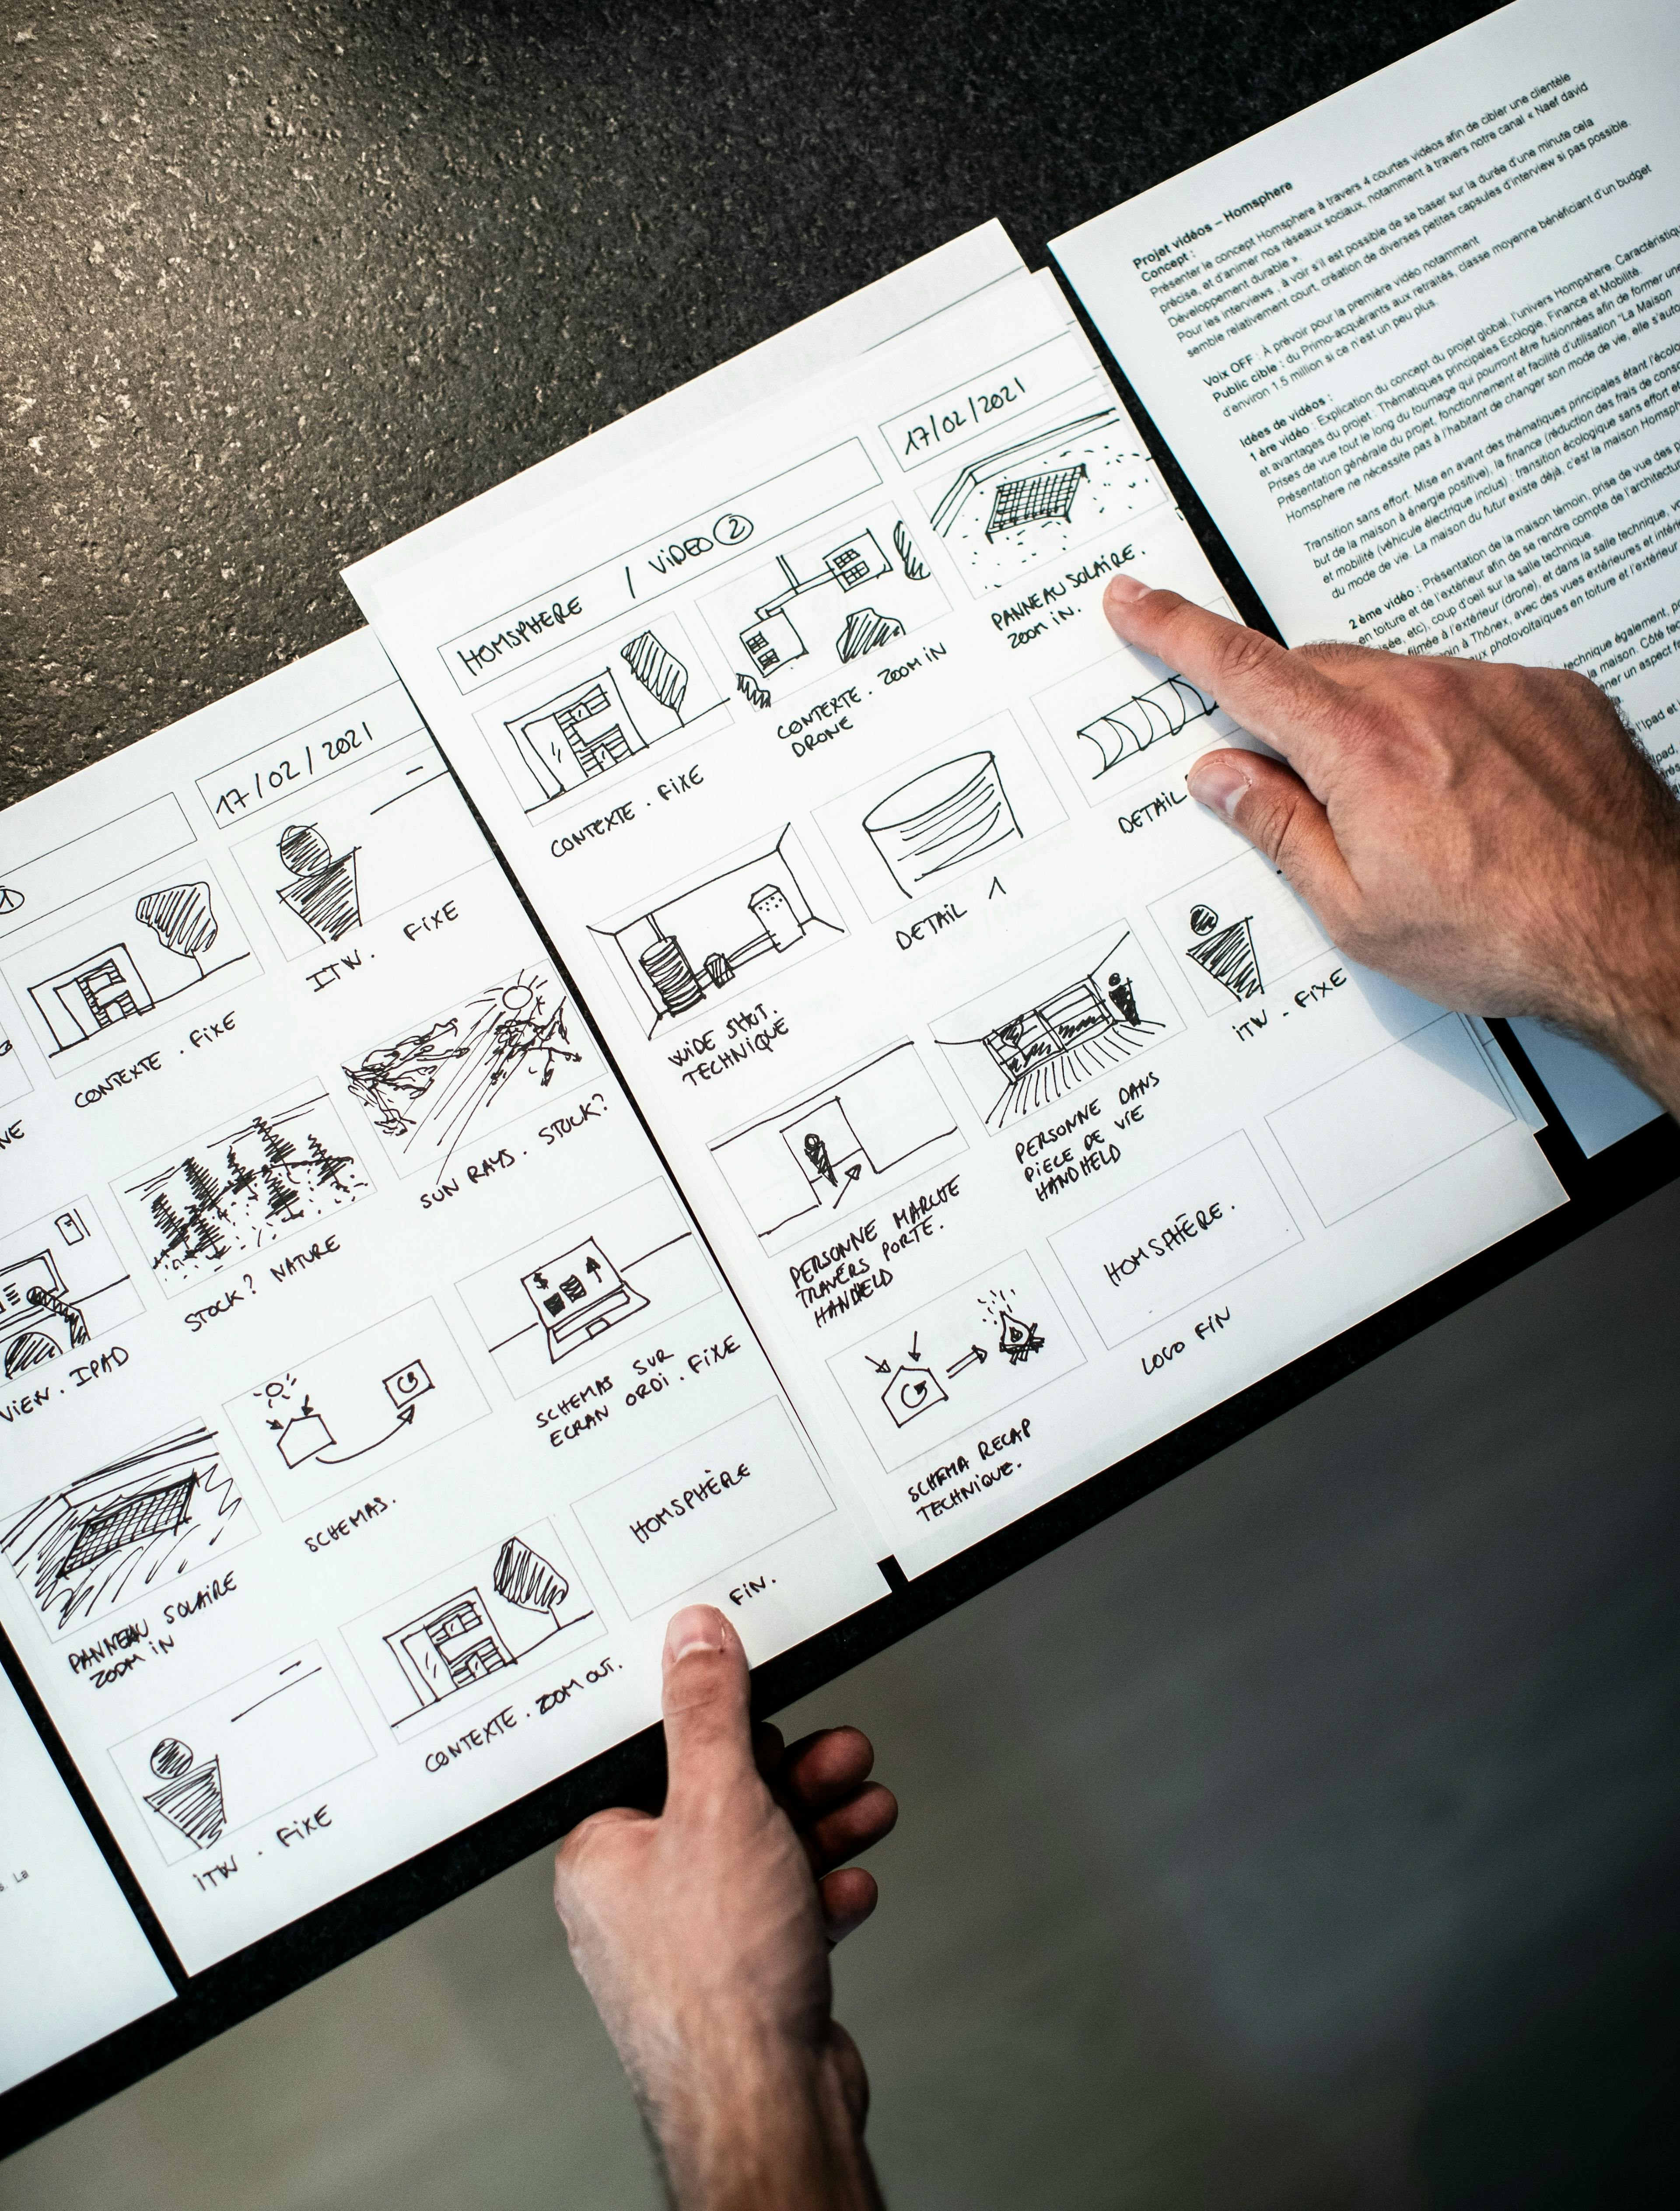
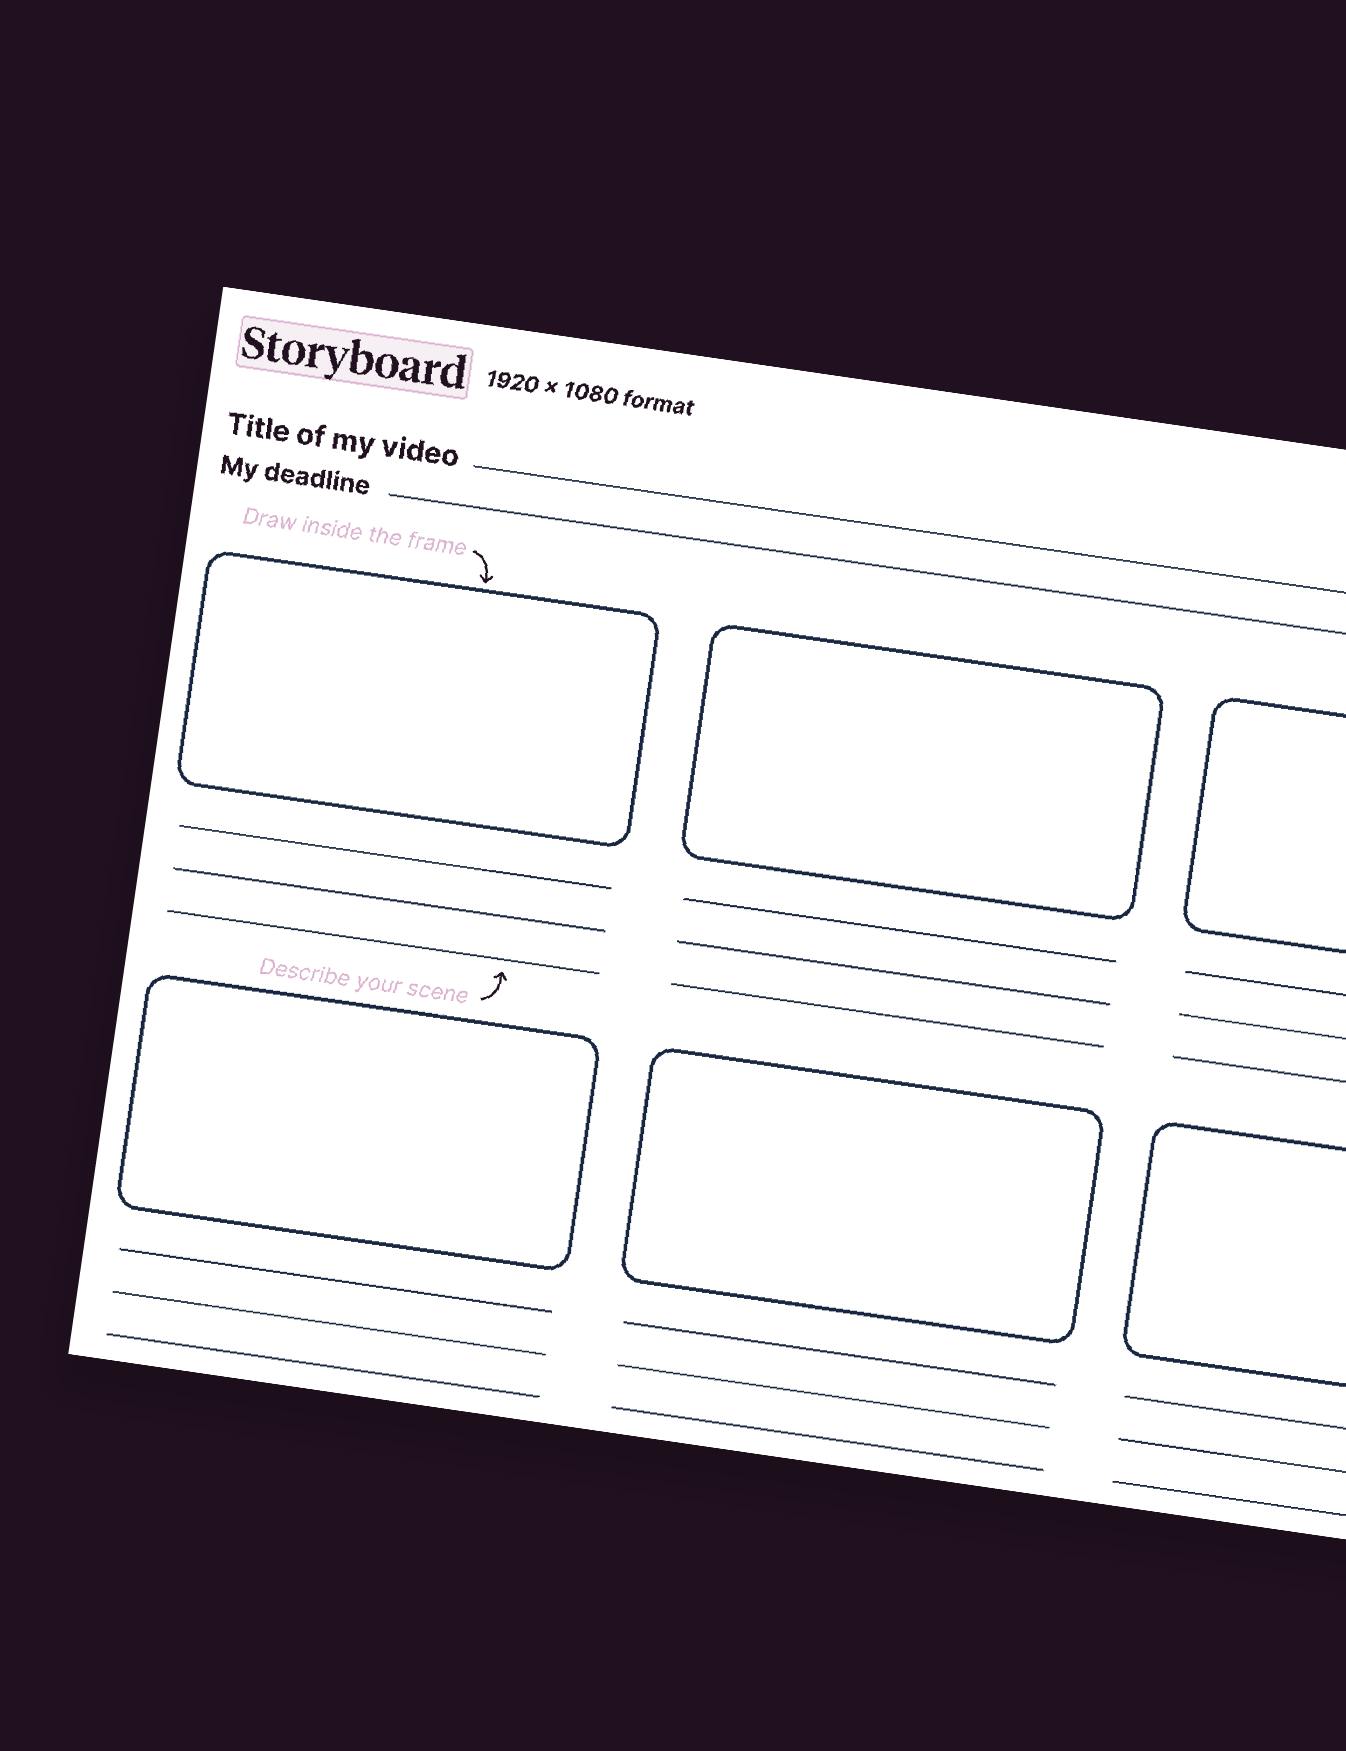
The 5 steps of a Video Storyboard
To get into the habit of writing a quality storyboard for your corporate videos, you might as well go step by step to set up a process.

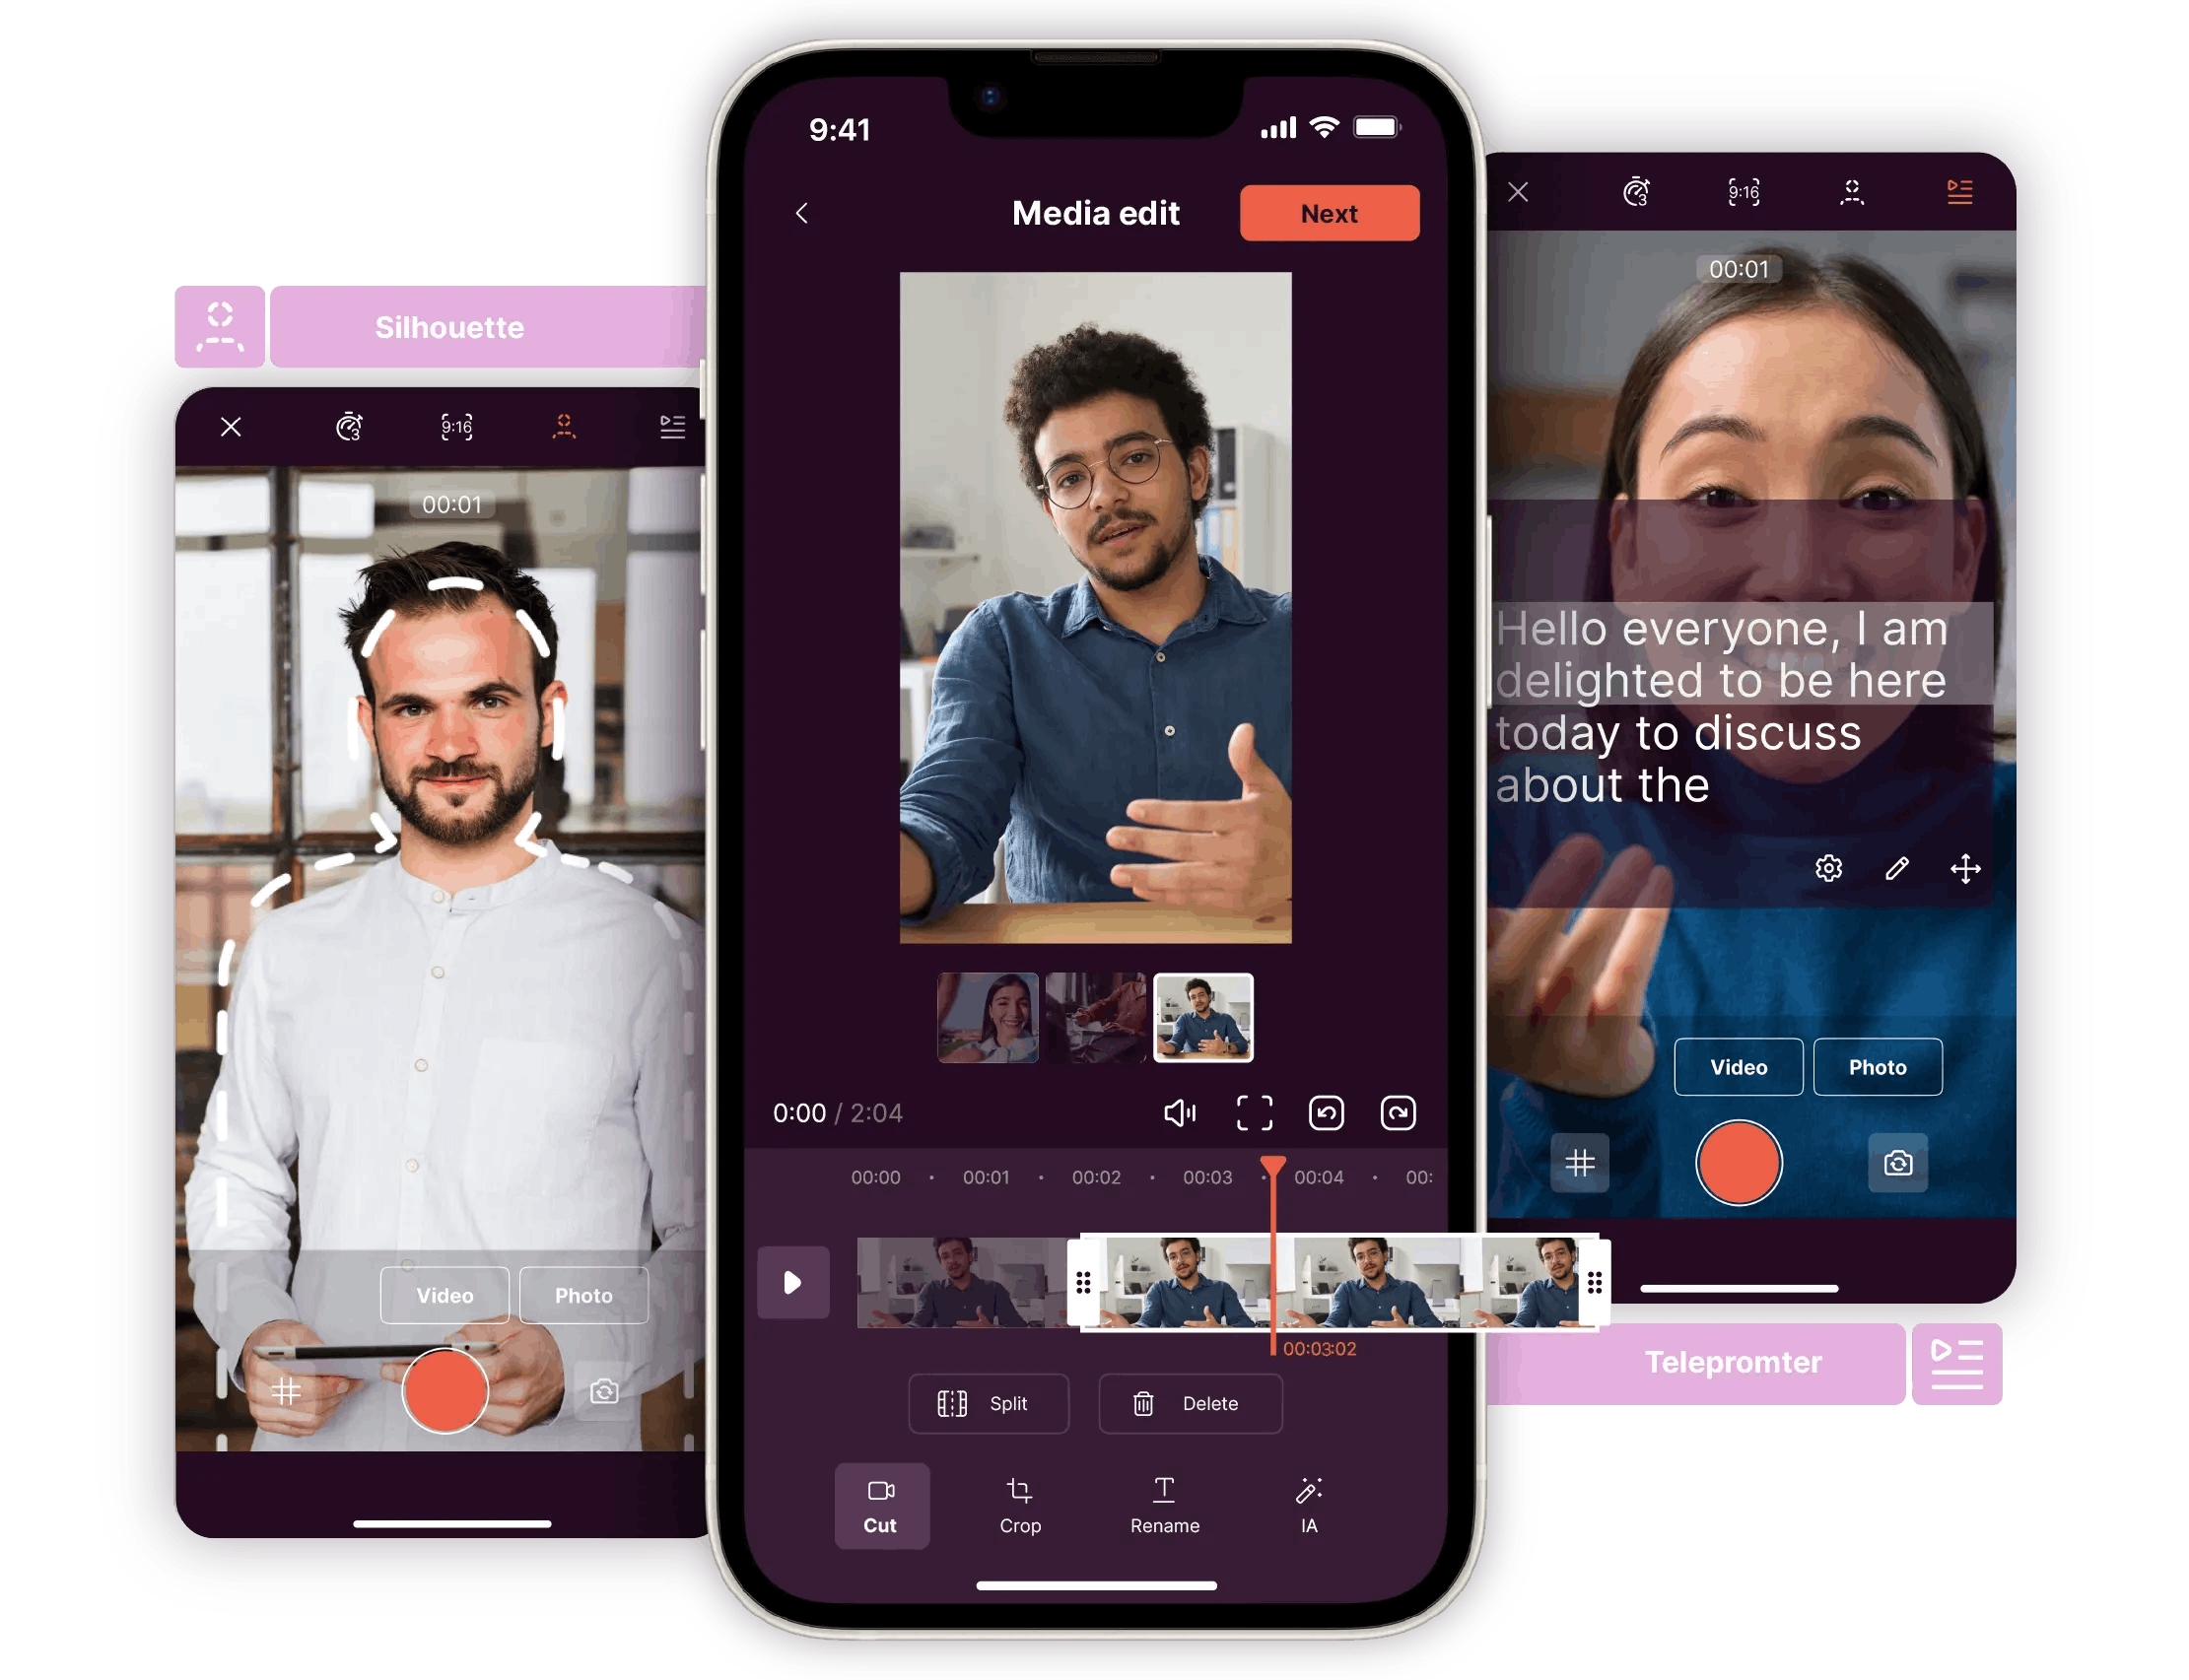
How Social Media video maker can help you create Snack Content
How can social video maker help you create videos that will help you to create appealing snack content to your viewers?

Video interview: The Complete Guide
There’s no perfect format for a video interview, but success comes from intelligently adapting to your audience and the platform.

Corporate Video - 11 Marketing Tip to Boost Your Strategy
In digital marketing, corporate video is a powerful tool for engaging audiences, increasing brand awareness and boosting conversion

Why include Dilemma Interview in your onboarding process?
Have you heard of the Dilema interview? This video interview format is very popular among French companies to introduce their new employees.

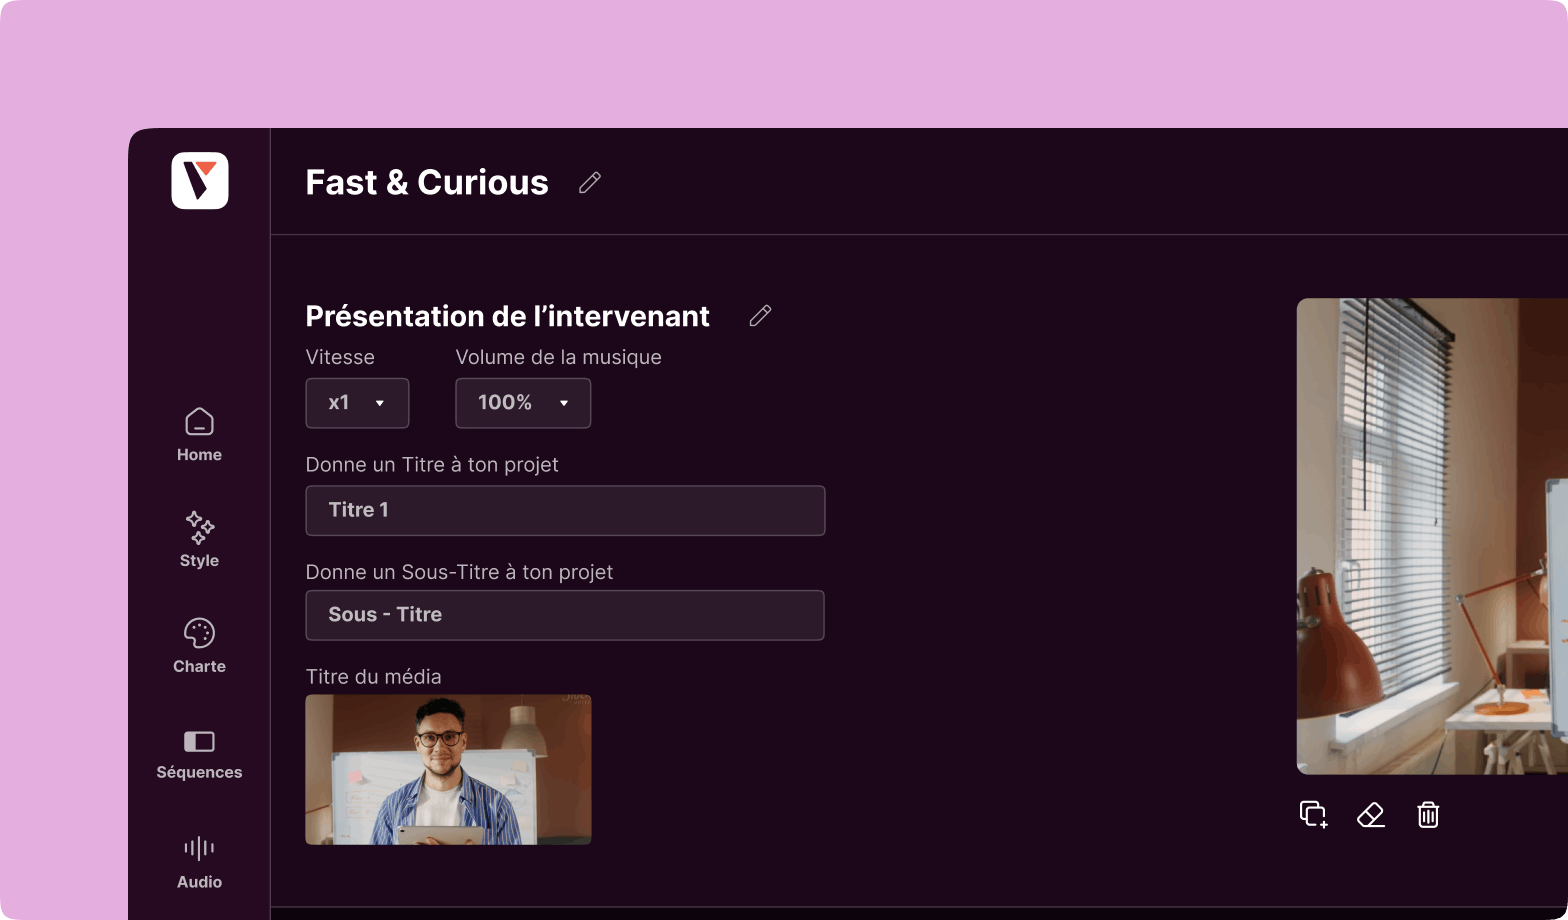
4 Benefits to use a Video Editor for Companies - Pitchy
Enhance your content with professional video editing tips for your company. With our video editing tool for companies, create powerful videos to boost your communication.

How to Make an Event Retrospective Video
How can corporations create perfect video online for their retrospective events? This article will answer this question.
Resources