












Video Lighting: How to Properly Light Your Professional Shoots?
🎬 Quick Summary | 🕓 Updated August 18, 2026
🎯 Purpose of this article: This expert guide is designed to inform your technical decisions regarding video lighting. You’ll discover how to structure the lighting for your shoots to ensure a professional aesthetic—essential for the credibility of your brand image with your audiences.
🧰 What you’ll learn:
Technical mastery: Understand why video lighting is the cornerstone of a high-quality production.
Equipment basics: Identify the essential criteria for selecting your future video lighting kit, from LED panels to COB spotlights.
Lighting strategy: Grasp the nuances between natural lighting and the precise use of professional video lighting to enhance your interviews or studio sets.
✅ Bonus: An exclusive look at our experts’ choices for leading brands such as ARRI, Aputure, and Nanlite, to help you design a cohesive and high-performance lighting setup.
👥 Who is this for? Communications managers, video project managers, and corporate production teams looking to elevate their visual quality.
The quality of an audiovisual production is never simply down to the performance of your cameras or the precision of your lenses. Long before the actual filming takes place, it depends on how you shape the space with light.
A dull or poorly balanced image immediately undermines your message.
Conversely, a precision lighting setup elevates a simple interview to the level of premium content. Mastering video lighting thus becomes the decisive step in establishing your positioning, lending credibility to your brand and captivating your audience.
This is where technical expertise meets creativity to bring your projects to life, without a single misstep.
Why does video lighting make all the difference?
In production, success leaves nothing to chance. A flawless image is the first sign of respect towards your audience. It instantly establishes your professional credibility. Conversely, haphazard lighting ruins the perception of your brand from the very first seconds.
Light acts as an invisible force. It structures your visual narrative along three axes:
- It guides the viewer’s gaze.
- It sets the atmosphere of your scene.
- It clearly sets your subject apart from the background.
Perfect mastery of video lighting builds lasting trust. Without this attention to detail, even the most brilliant message will ultimately fall flat. Such technical negligence ultimately takes a heavy toll on your company’s image.
Moving towards high-calibre content demands this level of rigour. The aim is no longer simply to be visible, but to make an impact with the elegance that your strategy demands. It is this quest for perfection that sets enduring productions apart from the background noise that saturates social media.
To ensure this cinematic quality in your most ambitious projects, browse our selection of the best video agencies in Paris and finally give your messages the stature they deserve.
The 3 types of video lighting you need to know about
To achieve a balanced image, it all comes down to a simple setup that sculpts the contours of your subject. Professionals use three distinct light sources to create depth and dimension.
The main light, or key light
This is the cornerstone of your setup. It illuminates your subject’s face brightly. It must be positioned to define facial features without creating overly harsh shadows. It sets the visual tone of your shot and ensures immediate clarity on your subject.
The fill light
This light source softens the final result. It is positioned on the opposite side to your main light source to achieve a more harmonious result. Here are its specific roles:
- It softens areas of shadow that are too pronounced on the face.
- It balances the overall contrast of your image.
- It gives the skin a more natural texture.
Backlight
This light source helps to set the subject apart from the background. It creates a subtle halo around the shoulders and hair. This technical detail prevents your subject from blending into the background. You thus create a striking sense of depth that clearly separates the foreground from the background.
To identify the best specialists and ensure these requirements are met on your large-scale projects, discover our 7 criteria for selecting the right audiovisual production company and work together with complete confidence.
Natural light or artificial light: advantages and limitations
The choice between natural light and artificial lighting dictates the overall atmosphere of your project. Each option imposes its own set of constraints on your film crews.
Natural light
Advantages
Natural light provides an organic texture that no technology can accurately replicate. It offers a softness and realism that are perfectly suited to authentic testimonials or corporate portraits.
- It produces a vivid and authentic visual result.
- It avoids the complex set-up of heavy floodlights.
- It remains fully accessible for your outdoor productions.
Limitations
Dependence on external factors makes managing your schedule more challenging. A passing cloud instantly alters the colour temperature, making the visual consistency of your footage highly unstable.
- You remain at the mercy of the weather’s whims throughout the day.
- Variations in light intensity complicate the final edit.
- You have no control over shaping the shadows to your liking.
Artificial lighting
Advantages
Artificial light sources give you complete control over your environment. You can shape the space as you wish, regardless of the time of day or the ambient darkness.
- You retain absolute control over the direction of the light beams.
- You maintain perfectly consistent lighting throughout several hours of work.
- You can create specific atmospheres that are impossible to achieve with natural daylight alone.
Limitations
This technical approach requires a significant financial investment in equipment. It also demands greater expertise to achieve a credible result and avoid positioning errors that give away overly rigid lighting.
- Deploying equipment such as LED spotlights or LED panels adds to your logistical burden.
- The time required for installation extends the duration of your shoot.
- Incorrect handling of LED lights or temperature settings results in unnatural-looking images.
5 lighting techniques used by professionals
Mastering light also depends on your ability to direct light with intention. Here are five essential techniques for composing your shot like an expert:
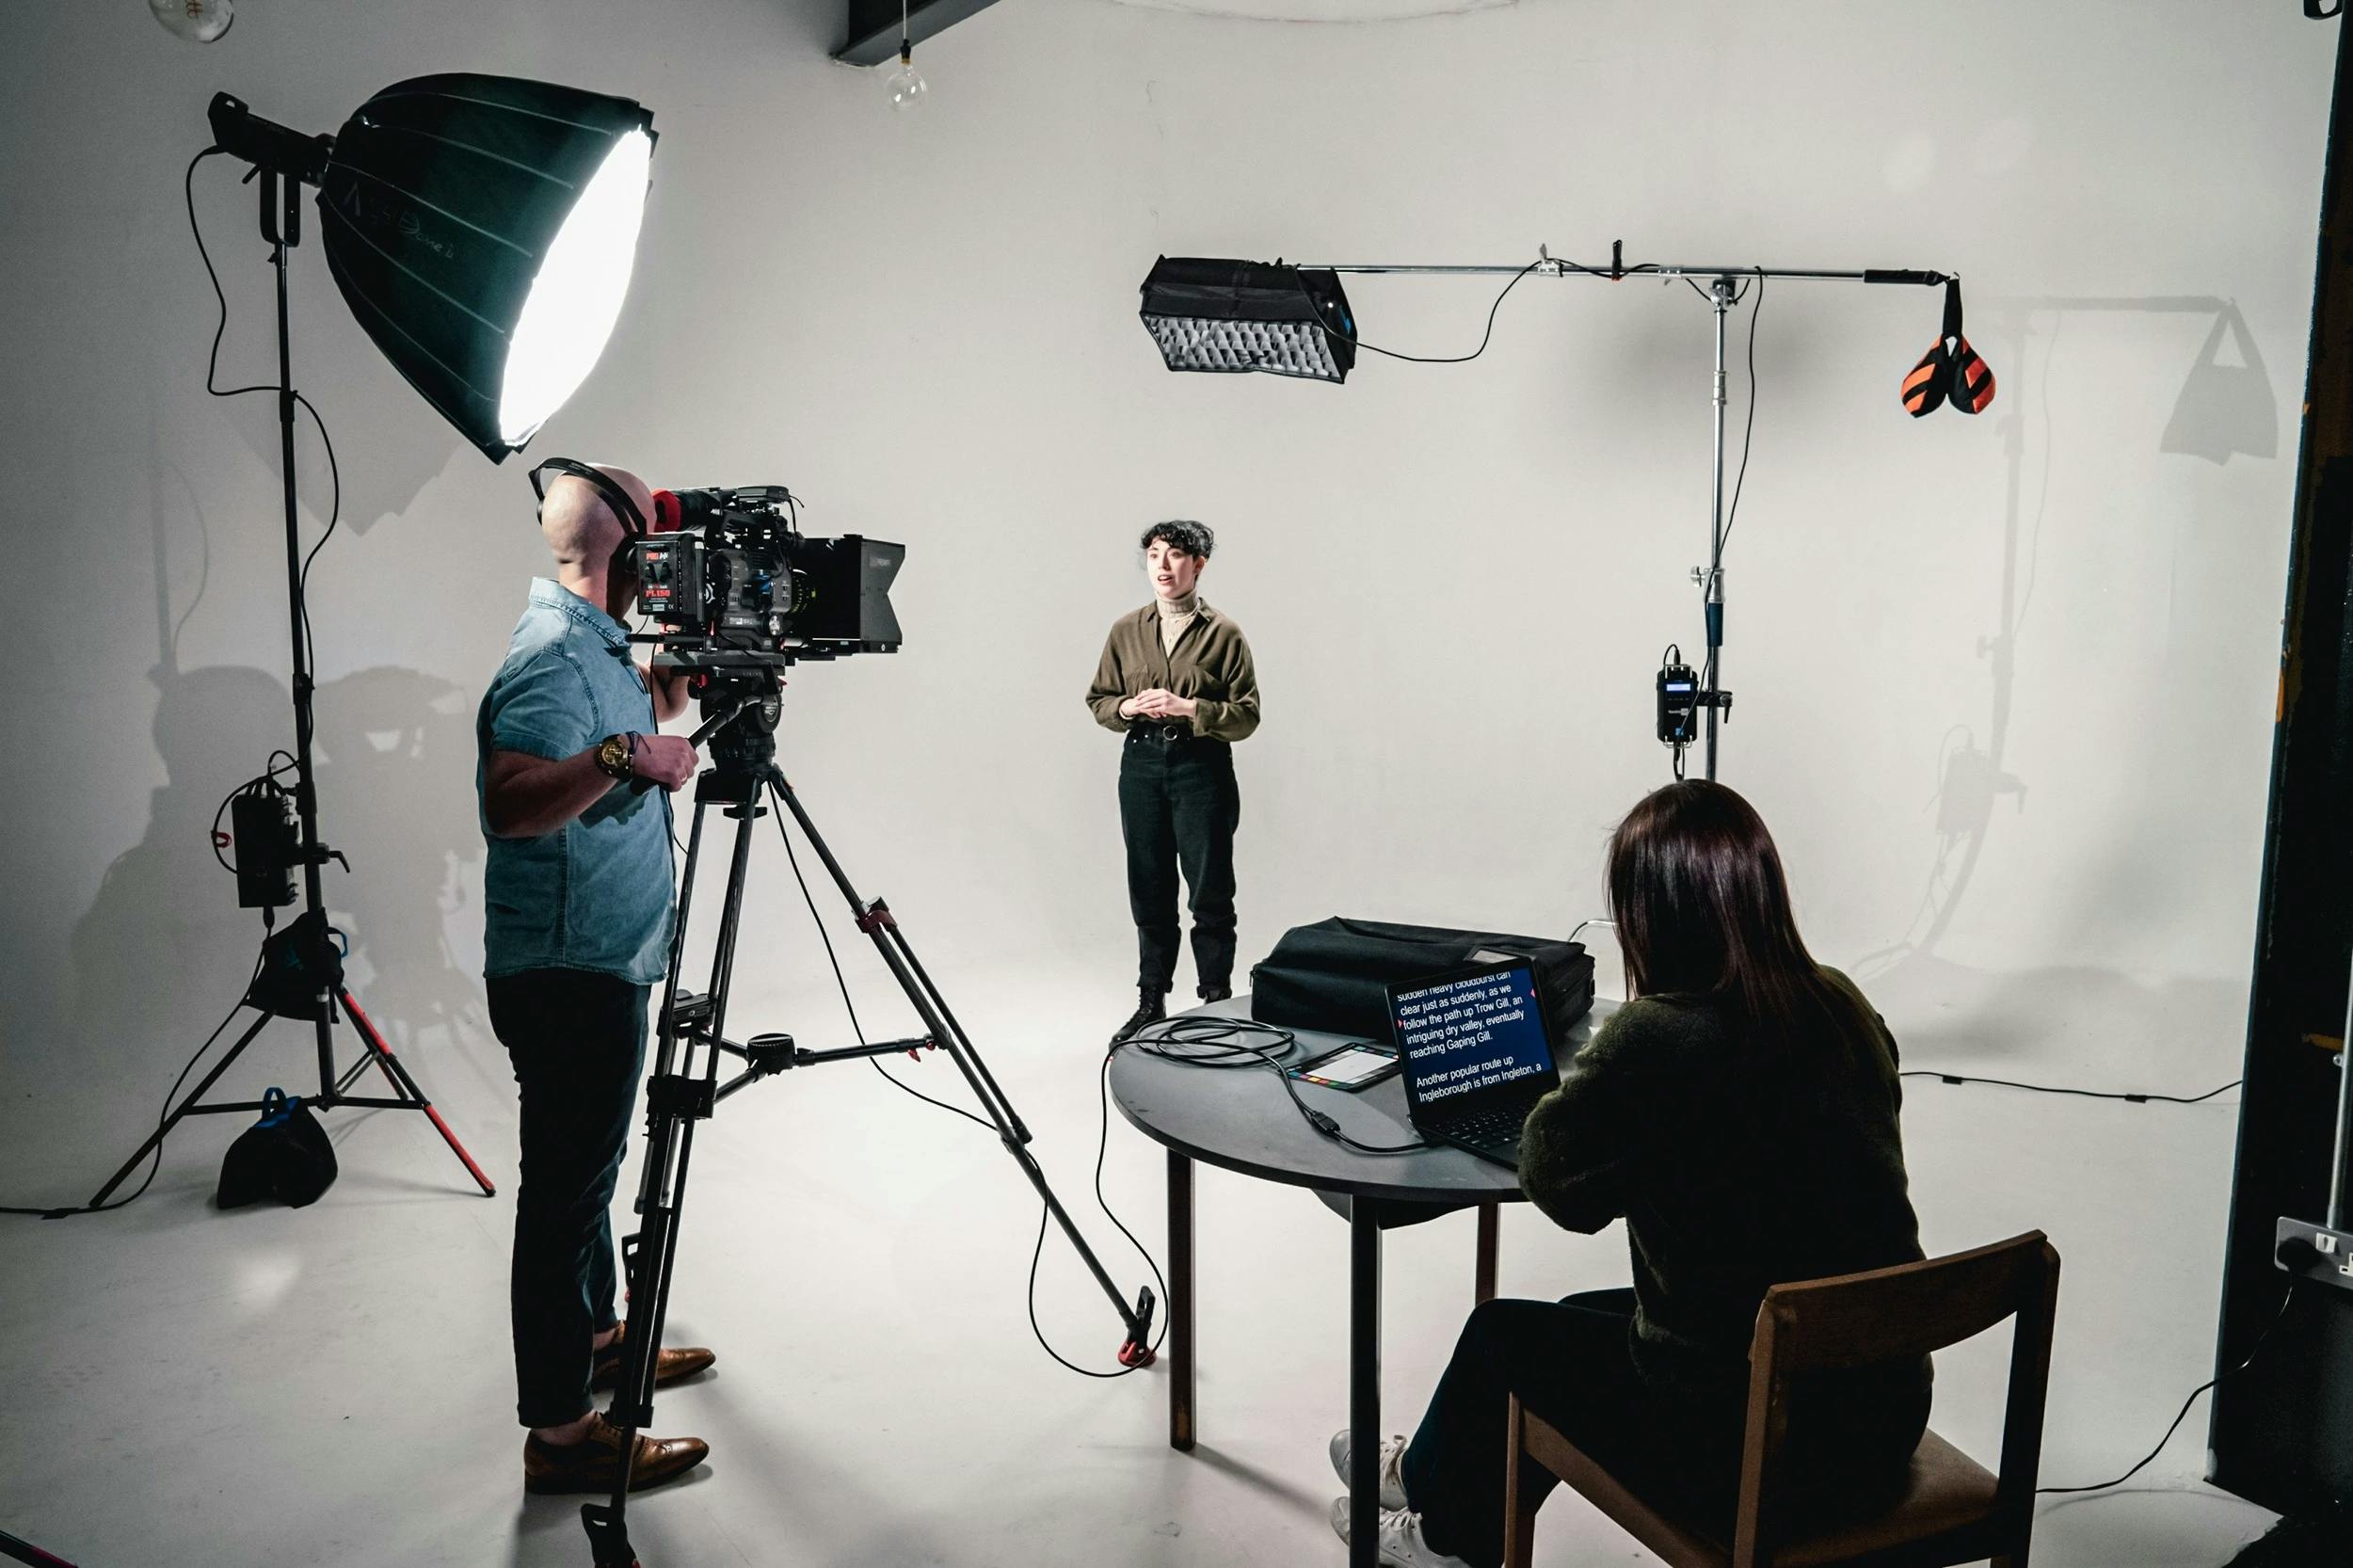
- The three-point lighting setup
This method is the gold standard for making a subject look their best. You combine a key light, a fill light and a backlight to make the subject stand out from the background. This simple triangulation immediately adds dimension and a cinematic depth to your shots - Bounced lighting
Instead of directing your lights directly at the subject, you bounce the light off a white surface or a reflector. The beam becomes softer and envelops your subject without creating harsh shadows. This produces a natural look, which is highly sought-after for elegant corporate portraits. - Side lighting
You position your light source to the side of the face. This position accentuates the contours and creates a marked contrast between the lit area and the shadowed area. This approach creates a more dramatic or artistic atmosphere, ideal for emphasising the character of a portrait. - Precise management of shadows
Shadows are not a flaw to be eliminated, but a compositional element in their own right. You can adjust the distance between your light sources and the subject to sculpt the forms. Precise adjustment allows you to conceal imperfections in the set whilst emphasising the presence of your subject on screen. - Adjusting the colour temperature
You adjust your settings in Kelvin to harmonise the light from your spotlights with the overall atmosphere of the venue. A warm tone creates a sense of intimacy, whilst a cool tone emphasises the technical and modern aspect of your message. This ensures perfect visual consistency between each sequence.
What video lighting equipment should you choose for your corporate videos?
Image quality depends as much on the optics as it does on the lighting. Putting together a coherent kit requires careful consideration of the actual needs of your shoots, whilst ensuring the necessary flexibility in professional environments.
Leading brands
The reliability of light sources is the cornerstone of a successful production. Three manufacturers currently dominate the market thanks to their technical expertise and their ability to transform a simple set into one worthy of the finest studios.
- ARRI sets the gold standard. This brand, synonymous with excellence, guarantees flawless colour accuracy – essential for high-profile projects that demand impeccable results. One of their products, the ‘ARRI Orbiter’, is a prime example: a professional, directional and versatile LED spotlight, it is designed for film, television and live performance. It stands out for its six-colour light engine (RGB, amber, cyan and lime) and its ability to change optics to transform into a Fresnel, cut-off or soft-light source.
- Aputure offers an outstanding balance between performance and cost. It is the obvious choice for teams seeking technical prowess without disproportionate financial constraints.
- Kino Flo dominates the soft light source segment. This technology enhances facial features with a natural softness, a major asset for executive interviews where visual comfort is a priority.
Selection criteria for a coherent video lighting kit
Building up a stock of equipment requires careful planning. Versatility helps to simplify logistics when travelling between the company’s various sites. Here are the key factors to consider when making purchases:
- Standardised mounts make it easy to swap accessories quickly.
- Battery-powered LED panels provide invaluable autonomy in the field.
- The projectors’ RGB compatibility allows for precise adjustment of skin tones, thereby avoiding long hours of complex retouching.
To benefit from bespoke support and access the best production technologies, discover our expertise in premium video production.
Indoor versus outdoor video lighting: the key differences
The filming location dictates its own physical laws. Your lighting strategy changes the moment you step out of a studio and into the open air, requiring technical flexibility to maintain impeccable image quality.
Mastering light in enclosed environments
Indoors, you have absolute control over light sources. You can sculpt contrasts and isolate the subject to create a bespoke atmosphere. Reflections from walls and the density of the air allow light to be diffused with surgical precision. However, this control requires rigorous management of colour temperatures to avoid a mix of disparate hues.
Harnessing natural light outdoors
Outdoors, the sun dictates its own rhythm. You are working with immense light intensity, which requires suitable tools to balance out the shaded areas. The light changes constantly as the hours pass. You must constantly adjust your equipment to compensate for the sun’s movement and ensure visual consistency across all your shots.
Editor’s note
After watching so many dull corporate videos, we tend to forget that lighting is the driving force behind everything. We make the mistake of thinking that the equipment does the job on its own, when in fact it’s the intention behind it that counts. Too many companies churn out flat images because they’re afraid of shadows, but the result is lifeless. For me, the real challenge is understanding how to shape a scene so that the viewer can’t look away. That’s what makes all the difference between a video you just have to sit through and a production that leaves a lasting impression.
Lighting determines the quality of your brand image. Each spotlight sculpts the forms, whilst the beam angle defines the emotion conveyed to your audience. This technical precision brings immediate clarity to your message, capturing attention from the very first seconds. By focusing on a cohesive setup and a meticulously crafted filming environment, you equip yourself to produce striking visual content. It’s the ideal solution to stand out from the crowd and make a real impact.
Boost your visual impact with an agency designed to support your growth ambitions: Pitchy Studio.
What is the best lighting for professional video?
The ideal kit combines powerful dual-colour LED lights with suitable light modifiers. Brands such as Aputure and Nanlite are now recognised as the go-to choices for ensuring impeccable colour accuracy.
What is the best lighting for filming?
A continuous light source with a wide beam remains the most effective. It allows you to sculpt shapes with precision whilst ensuring that the light does not dazzle those involved during filming.
How do professionals light their videos?
They employ a meticulous set-up, positioning a main light source opposite the subject, supplemented by a secondary light to soften the shadows. This method gives structure to the shots and instantly enhances the visual result.
What are the three types of lighting?
The technique relies on the main light source, which illuminates the subject; the fill light, which softens the contrasts; and the backlight, which clearly sets the silhouette against the background.