


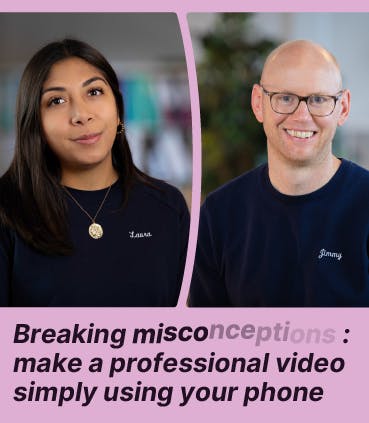
Steps To Make A Screencast Video

Are you making a screencast video for the first time? Don't panic: follow these steps.
A few years ago, gamers were pioneers in screen recording: they used it to show their community some video game tricks, in order to progress faster. But today, in the corporate world, not only is video becoming more and more important in training, but it is also more and more common to record your screen to prepare a tutorial, in order to train new customers or new employees.
But if you have not yet started making video tutorials, you will first have to weigh up the pros and cons, bearing in mind that, given the many advantages of video, the pros win out, and video tutorials are becoming increasingly popular with employees. Note that your computer is a free screen recorder, which can be launched with the keys of the keyboard, in a simple and effective way, like for video games. You won’t even need to download free software, a program or a specific solution for your screen recording. Quality video capture is easier than you think. And here, you won’t even need a webcam (although you may decide to keep the webcam during the tutorial).
A little tip: when the whole thing is displayed, in the screen capture tools, the location of the video-related widgets is usually on the right, for very simple settings. No need to go on a screencast website: here are some tips.
But first: why make a screencast video for a tutorial?
You can film yourself face-to-face during your video tutorial. It’s true that the public likes interaction, and especially the human element. And it’s obvious that if it’s a product tutorial, you’ll have to show the product and explain how to use its many features. But if it’s a video tutorial to show how an application or software works, note that your audience will then have to go through the process themselves and take the lead independently. You might as well show them in pictures what to do and where to click. By filming your screen, you help the audience to follow the navigation path from start to finish.
Step 1: Before you start your screencast video: remember to leave a clean environment on your computer
A practical tip. It’s an annoying habit that many of us have: we often tend to open several tabs at the same time, and then we get lost. So imagine if you start filming your screen on a particular tab, but you can’t find it because other tabs are open. Or imagine that these numerous tabs are constantly causing notifications, sometimes accompanied by beeps, which will confuse the message of your tutorial, as well as your cursor or your manipulations during the recording. In short, before filming anything, make sure that the tab you want to film is the only one open on your computer at that moment.
Step 2: Make sure the application or interface you want to film is already open
If no application is active, you will see the video icon grayed out, with the message “Game features are not available for the desktop or Windows File Explorer”.
Step 3: Before starting the screencast video, make sure the sound is working (headphones, microphone…)
To make sure the sound works when you record, go to the settings (the wheel button), then to the current capture tab, and you will be presented with various options (4:44 of the video above).
Step 4 (on Windows 10): launch the XBox Game Bar to start your screencast video
As you can see, this example is about recording your screen to make a video game demo. But whether it’s for a video game or a software tutorial, the principle is the same: with your mouse cursor, go to the Windows icon at the bottom left of your screen. Type “Xbox Game Bar” in the search bar. You will then quickly see grey tables appear on your screen. You will easily spot the dot icon, allowing you to launch the video.
If you need to make a video screencast on a Mac: use Quicktime
Another tip:
- Press Command + Shift + 5 on the keyboard,
- On the right hand side of the toolbar you will find the commands to record the screen content.
- You can even move a window to the part of your screen you want to film,
- Then, make a video montage with these filmed sequences thanks to
Then, edit the video footage made during screencast with a software program
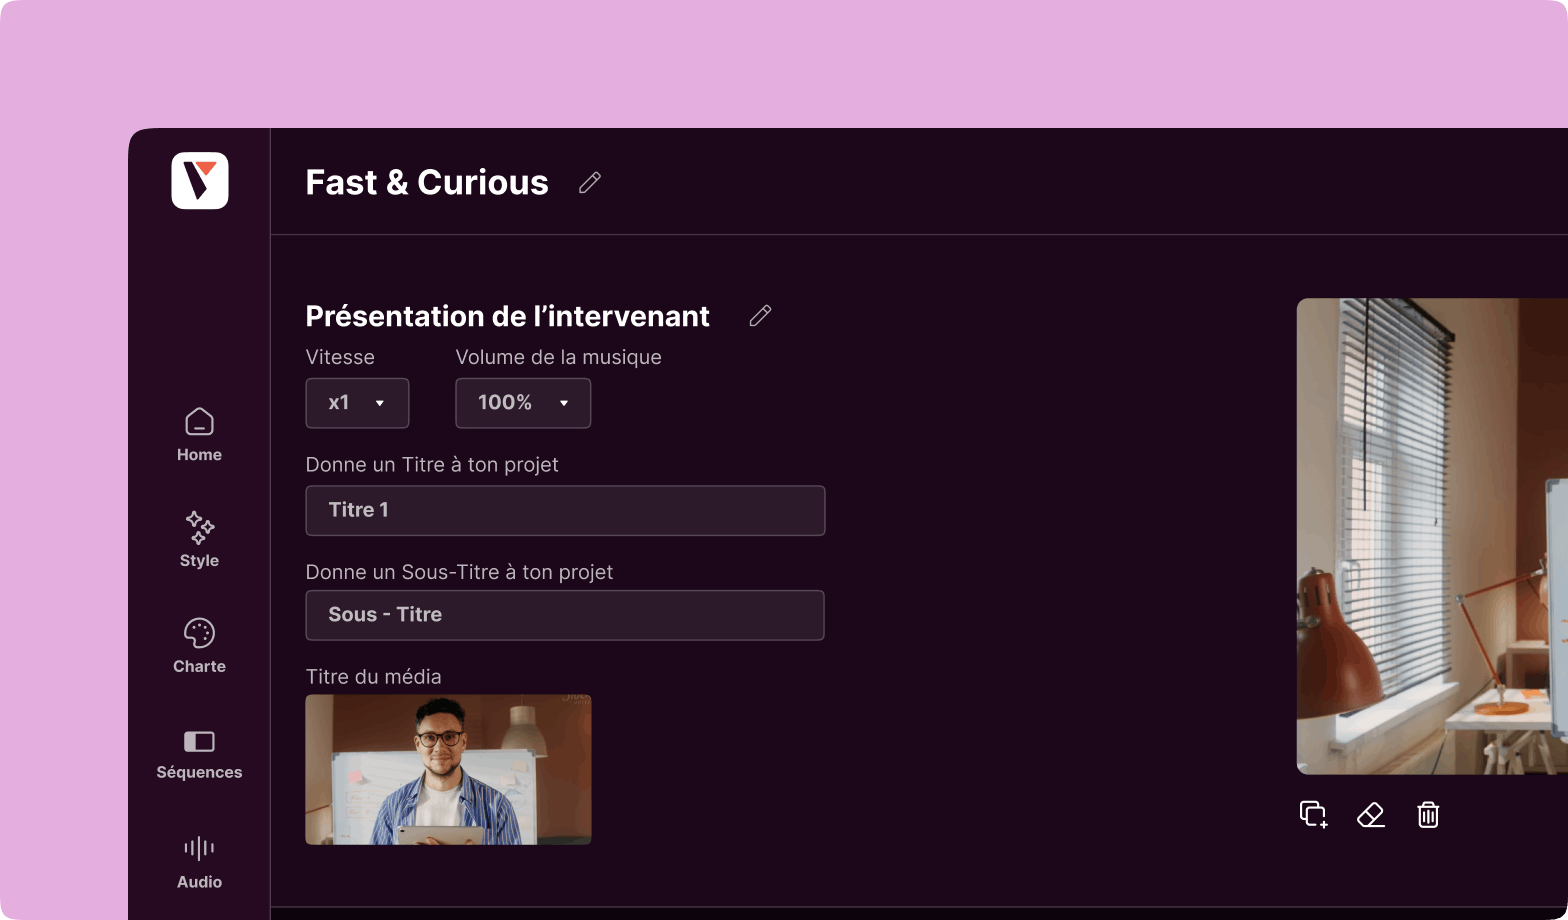
You have recorded all the video sequences on your computer screen. Screen capturing has no secrets for you. But now, if you want to edit it, make it more corporate, more professional, you can use Pitchy, a video creation platform, for non-professional video workers, to take over independently.
On this platform, you will find pre-designed video templates. In this case, it is a tutorial. You can then select from the templates offered. The advantage of a tool like Pitchy is that you can dress up your screen recordings: between them, you can add motion design sequences to give your training a dynamic feel. You can also add text and subtitles, so that the training can be seen without the sound.
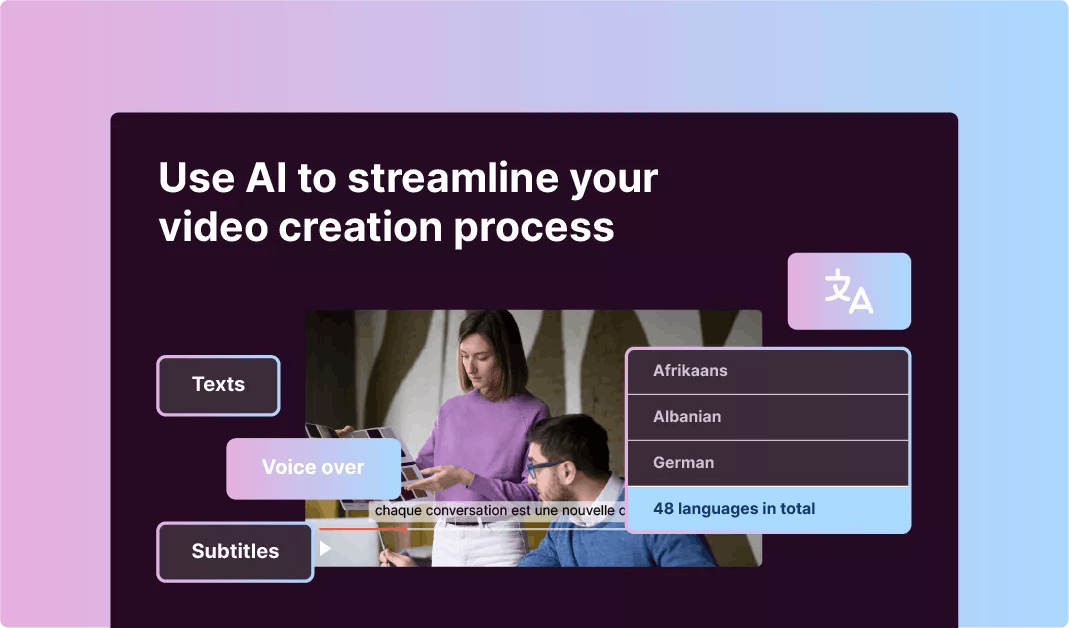
What about you? Would you like to make your own video editing, as professional educators, your own screencast videos; to give the best content experience to viewers? With Pitchy, our user interface, you will be able to create great videos with your simple screencasts, record your voice and add other audio effects, upload a presentation, upload images and upload voiceover. Our user interface is simple, we often publish a new ebook as a video guide, and, in addition to that, our CSM team will be able to give you instruction, more information, more instruction and more clarity to become autonomous. We are happy to give more tips to all our users!

A passionate Content Manager at Pitchy, Marc excels in designing and implementing captivating strategies, combining hard-hitting writing and in-depth analysis to bring you the best information!
Resources